Clickhouse
Clickhouse is an open-source database management system (DBMS) for online analytical processing (OLAP). It uses a column-based structure. Clickhouse was designed to be fast and highly-scalable. Clickhouse stands out for high performance because it gives attention to low level details when performing queries.
You can connect Zing to your Clickhouse database from the Zing web console.
You’ll need:
- Hostname, which is the URL or IP address of your database
- Database Name, which is the name on your hostname IP / URL, your database is referenced by
- Username, which is your username. Best practice is to create a read only user
- Password, which is your password. Once you enter this, Zing will automatically encrypt this.
If you require the connection to be secure, three additional fields would be required:
- Server Root Certificate
- Client Key
- Client Certificate
The Clickhouse documentation provides more information about generating certificates to connect via SSL.
Web Console
Add a Clickhouse database from the web:
-
Go to your Zing Data Web Console and ensure you are logged in
-
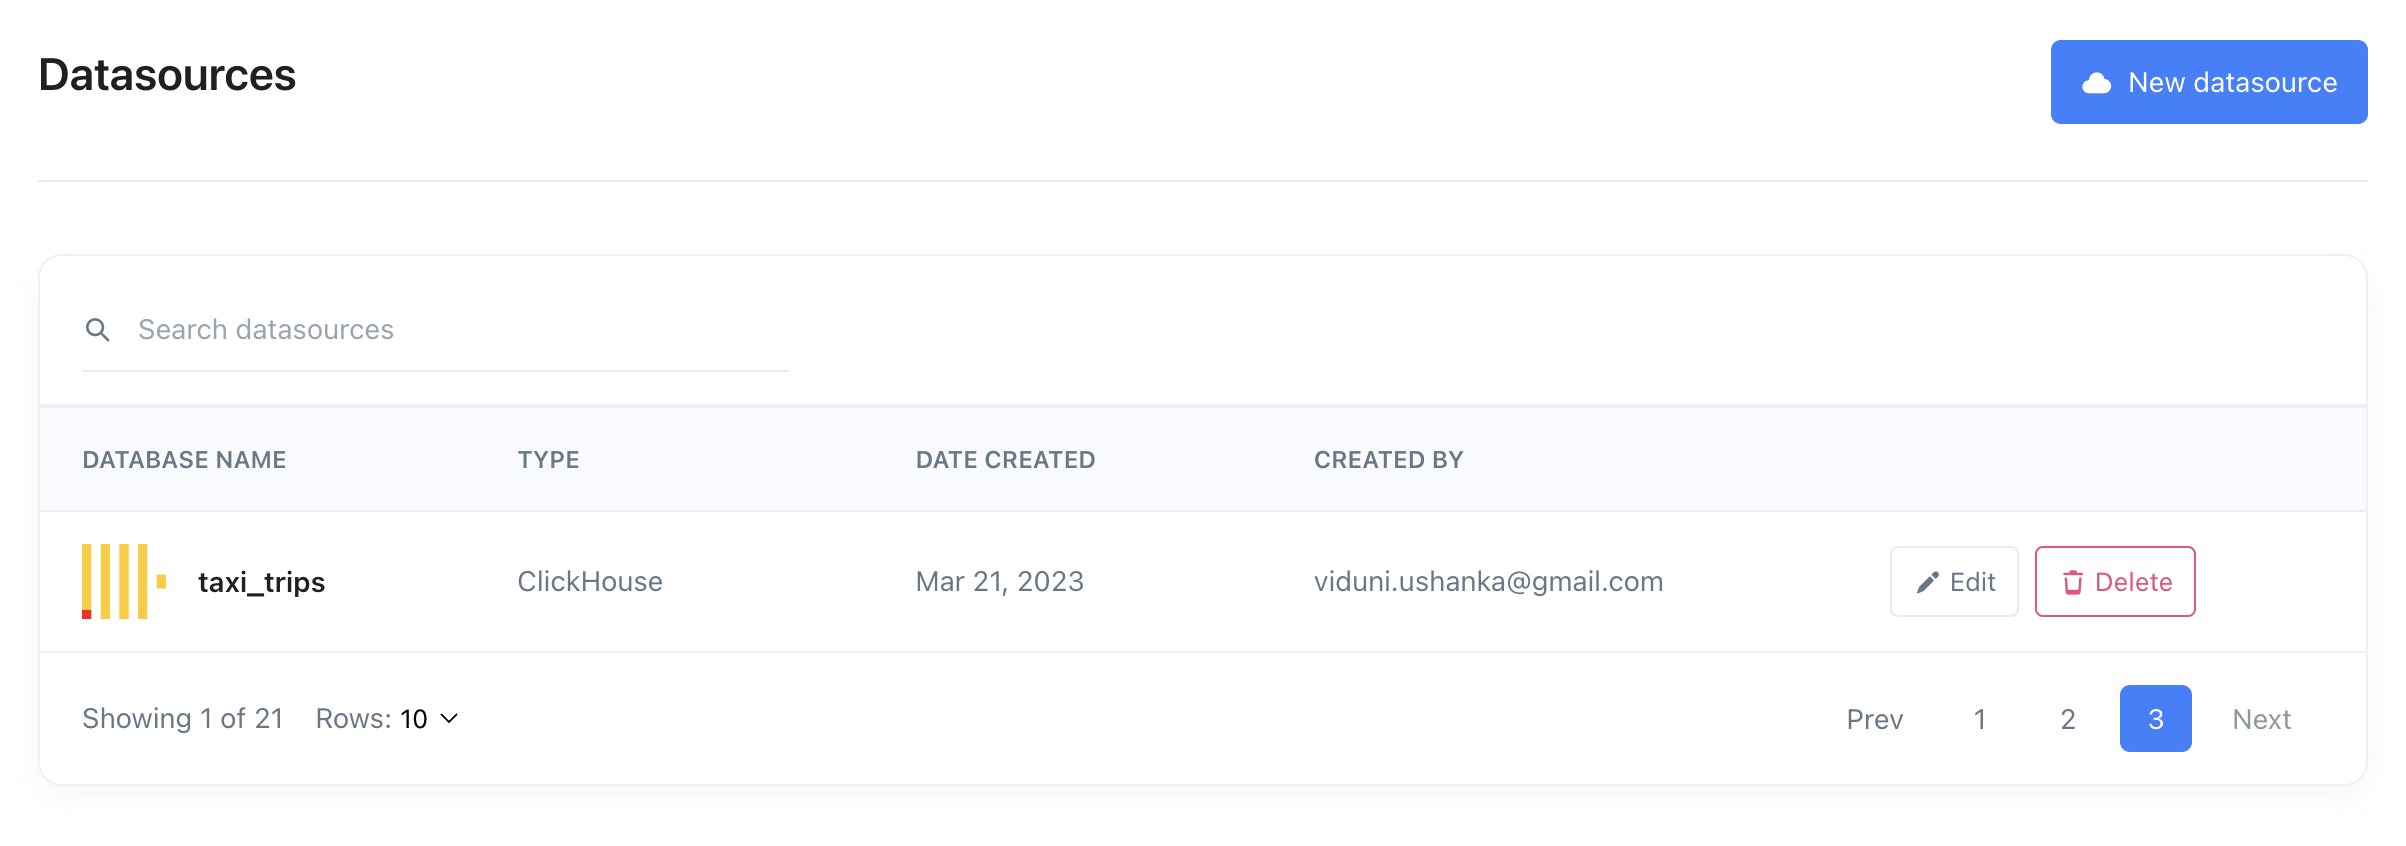
Tap the ‘Data Sources’ tab

-
Enter your Clickhouse credentials, as outlined above.
If you are connecting to Clickhouse Cloud, you’ll typically want to use port 8443 and ‘use SSL’. Your connection host will be something like https://xxxxx123.us-east-1.aws.clickhouse.cloud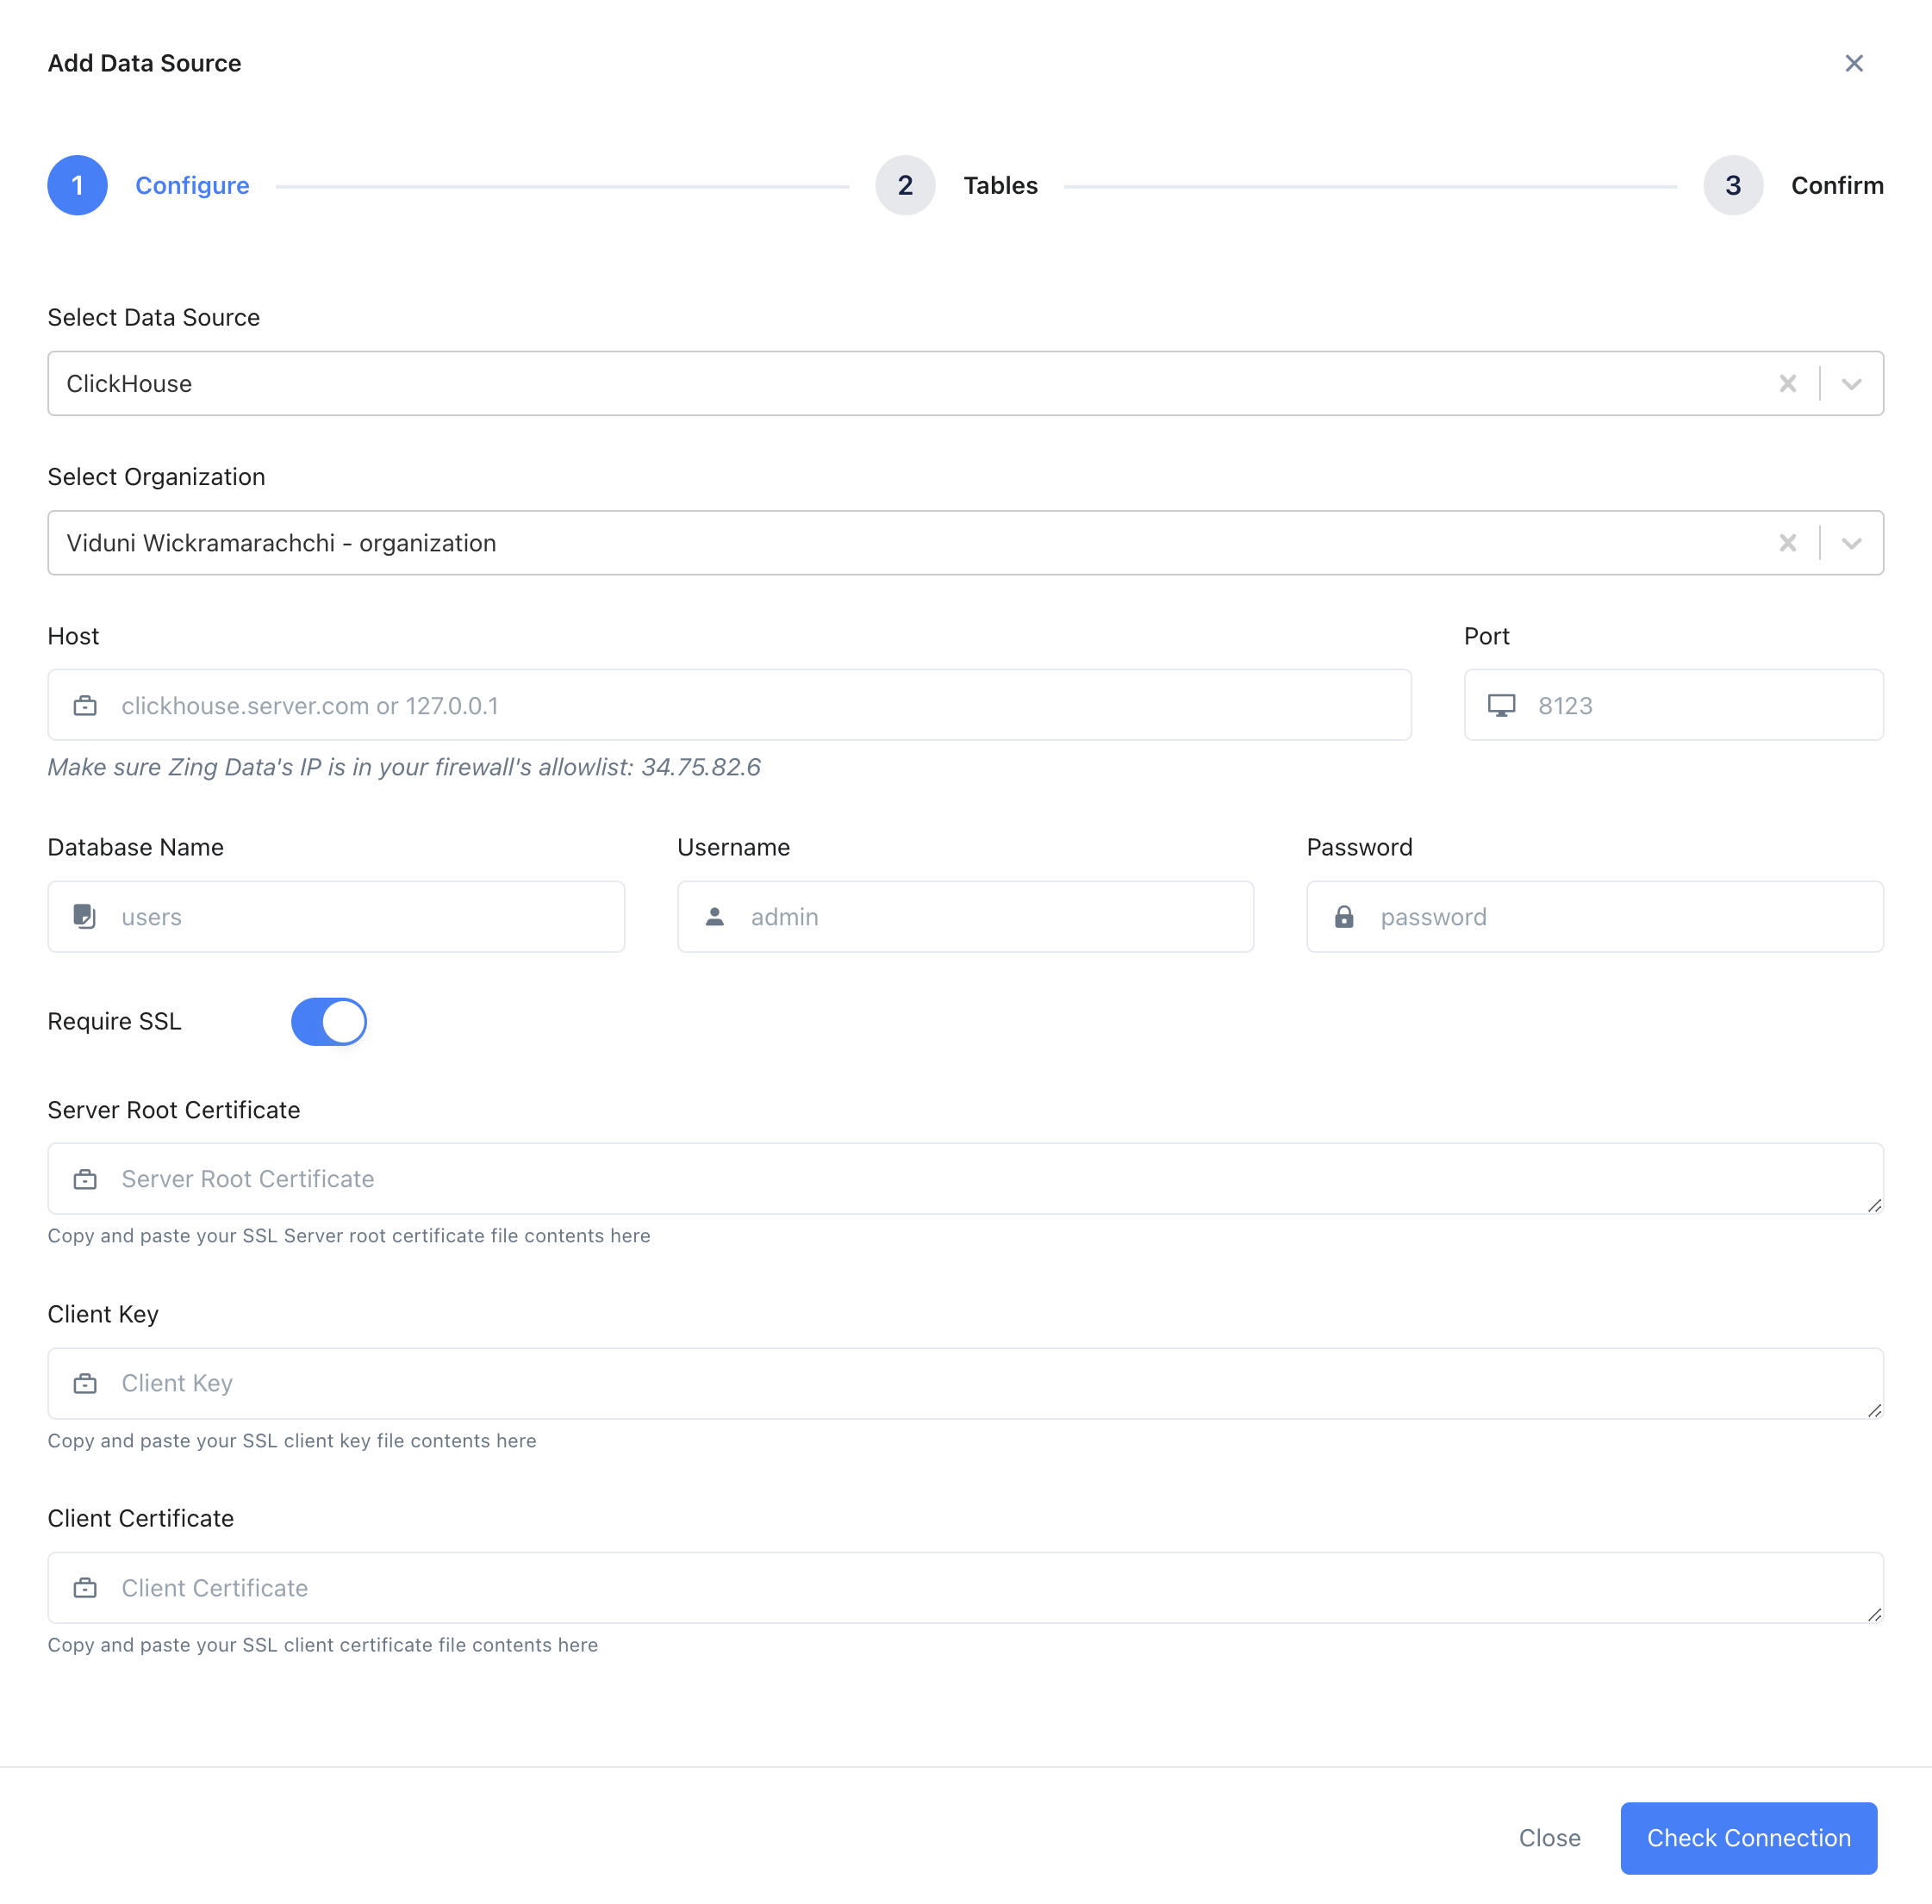
-
If your Clickhouse database is behind a firewall (which it typically will be), you’ll need to allow connections from Zing’s IP address: 34.75.82.6
-
Tap ‘Check Connection’
-
Zing will verify that it can connect to your data source and if successful, add it as a source. If Zing cannot connect to your data source, you'll see a message asking your to check your credentials and retry. If even after checking your credentials and retrying you still experience issues, reach out to Zing support here
Unknown Shortcode
contact

Unknown Shortcode
contact
-
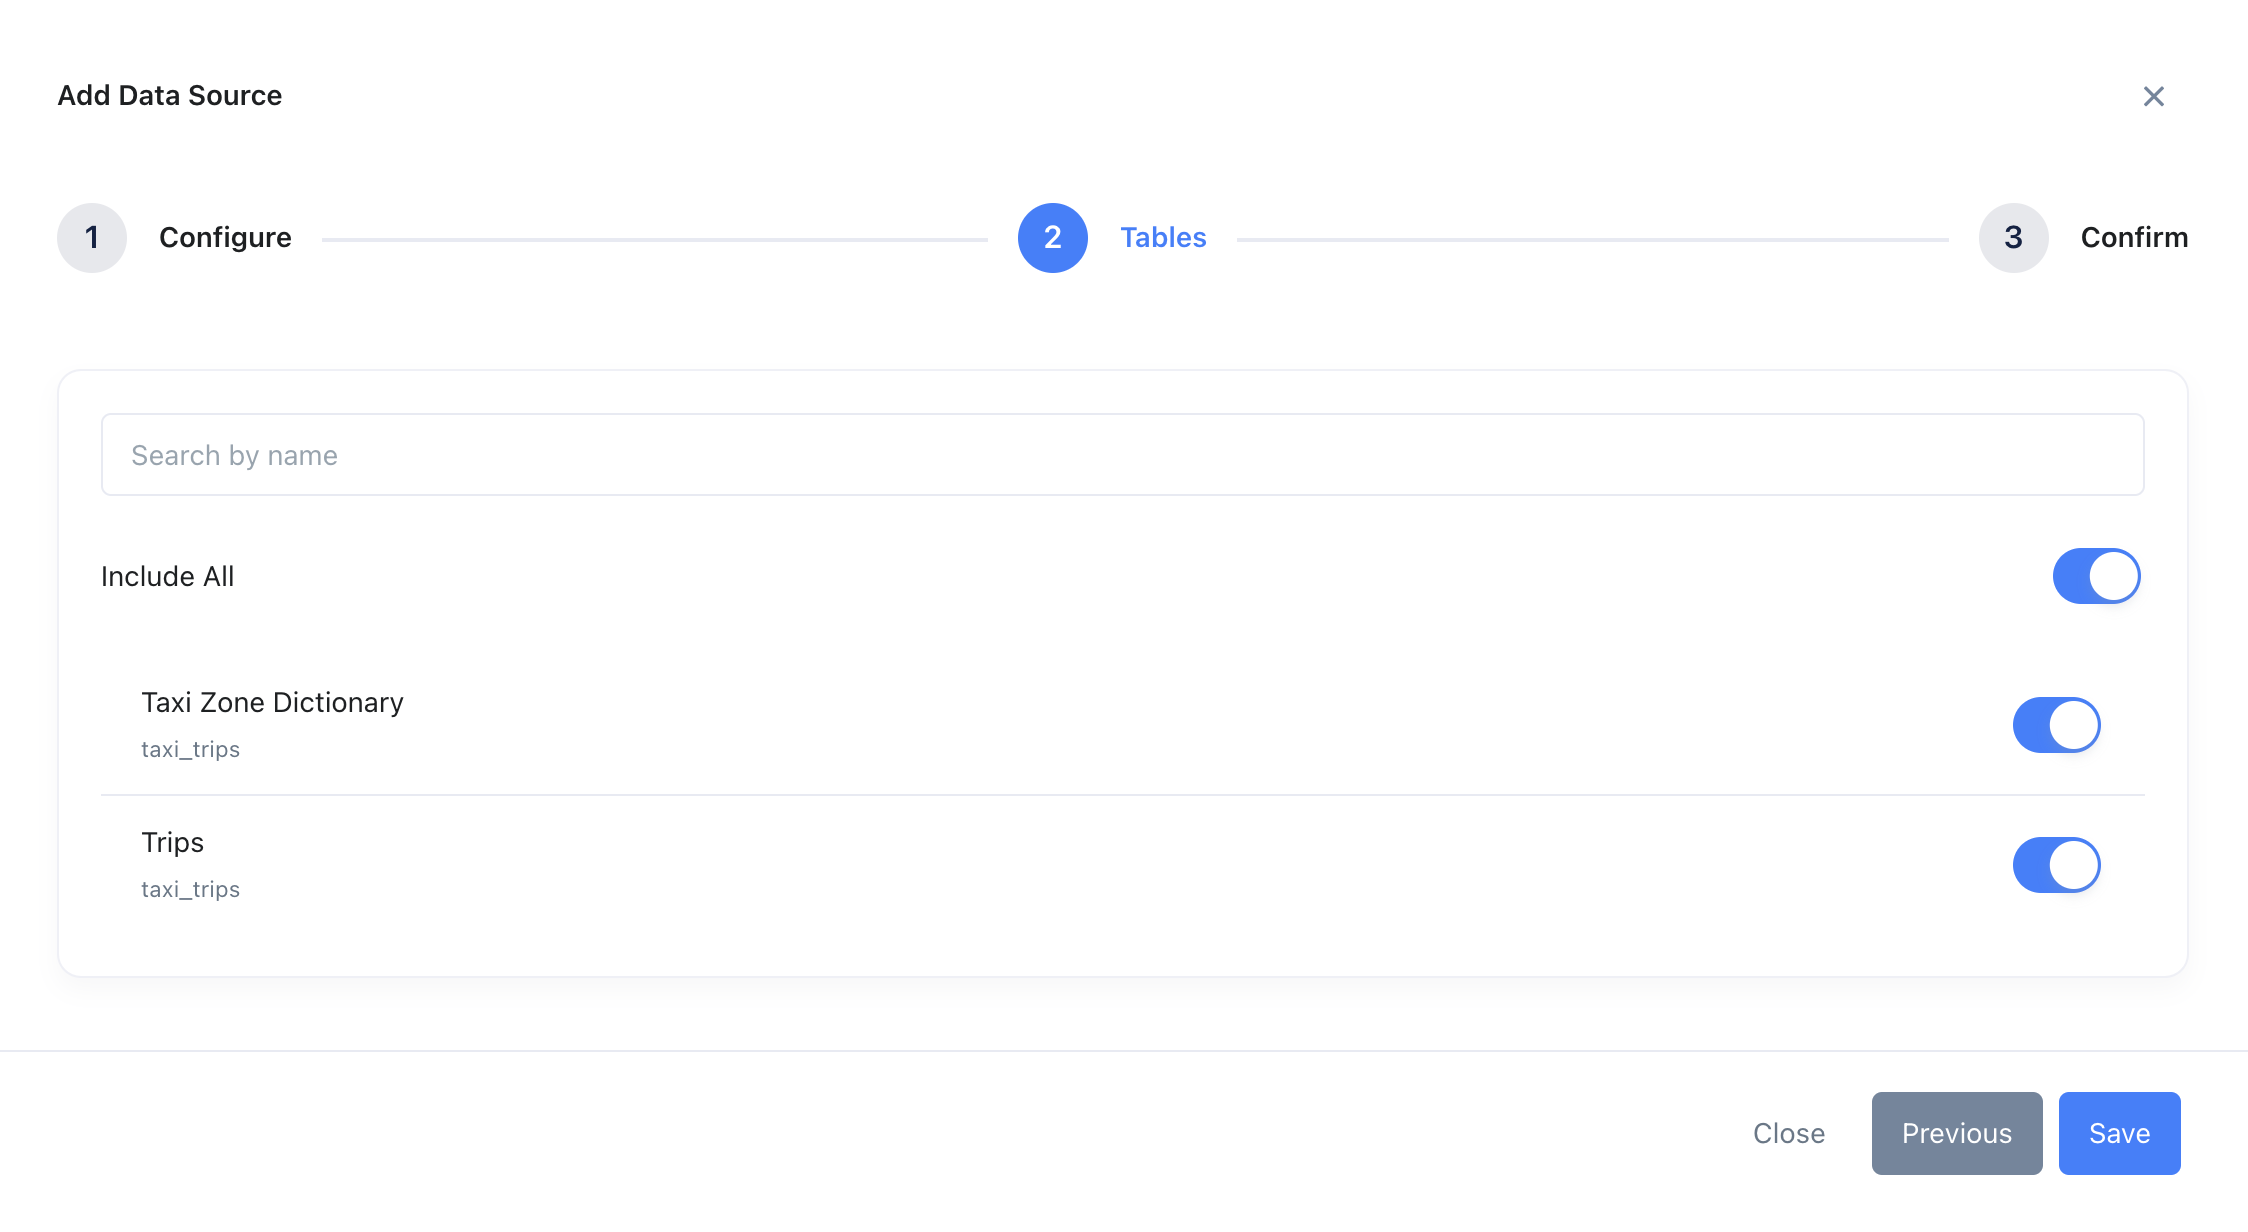
Choose the tables you want to include and tap ‘Save’.
-
The data source you just added will be available to everybody in your organization.